
Smart bulbs have become increasingly popular due to their energy efficiency, convenience, and advanced features. However, like any electronic device, they can sometimes malfunction or stop working altogether. In this comprehensive guide, we will explore the common issues with smart bulbs, provide detailed troubleshooting steps, and offer step-by-step instructions for repairing and resetting them.
Common Issues with Smart Bulbs
- Not Turning On or Responding:
- Check the power supply and ensure the bulb is properly screwed in, with a secure connection to the socket.
- Verify that the bulb is correctly paired with the smart hub or controller, and the connection is established.
- Restart the bulb and the hub/controller to refresh the connection, clearing any temporary glitches.
-
Ensure the bulb is compatible with the smart home system or app you are using.
-
Not Connecting to WiFi Network:
- Confirm the bulb is within the recommended range of the WiFi router, typically within 30-50 feet (9-15 meters) for optimal connectivity.
- Restart the router and the bulb to refresh the connection, clearing any network interference or temporary issues.
- Check the bulb’s WiFi settings and ensure it is set to the correct network, with the appropriate password entered.
-
Verify that the WiFi network is functioning properly and has a stable internet connection.
-
Flickering or Dimming Issues:
- Inspect the bulb’s contacts for any signs of corrosion or loose connections, which can cause intermittent power supply.
- Ensure the bulb is compatible with the dimmer switch or controller being used, as incompatibility can lead to flickering or inconsistent brightness.
- Try resetting the bulb to its factory settings, which may resolve any software-related issues causing the flickering or dimming.
- Check for any voltage fluctuations in the electrical circuit powering the bulb, as this can also contribute to flickering.
Troubleshooting Steps
- Check the Power Supply:
- Use a multimeter to verify that the bulb is receiving the correct voltage (typically 120V or 230V) at the socket.
- Ensure the bulb is properly screwed in and making a secure connection with the socket.
-
Check for any signs of damage or wear on the bulb’s base or the socket itself.
-
Check the WiFi Connection:
- Restart the router and the bulb to refresh the connection, clearing any temporary network issues.
- Verify the bulb’s WiFi settings, including the network name (SSID) and password, and ensure they match the correct information.
-
Consider moving the bulb closer to the router or installing a WiFi range extender to improve the signal strength.
-
Check for Loose Connections:
- Carefully inspect the bulb’s contacts, looking for any signs of corrosion, oxidation, or loose connections.
- Use a clean, dry cloth to gently clean the contacts, removing any debris or buildup.
-
Ensure the bulb is securely screwed into the socket, with a tight and consistent connection.
-
Reset the Bulb:
- Follow the manufacturer’s specific instructions for resetting the bulb to its factory settings.
- This typically involves pressing and holding a designated reset button on the bulb or the smart home hub/controller for a specific duration (usually 5-10 seconds).
- After the reset, reconnect the bulb to the smart home system and pair it again, following the setup process.
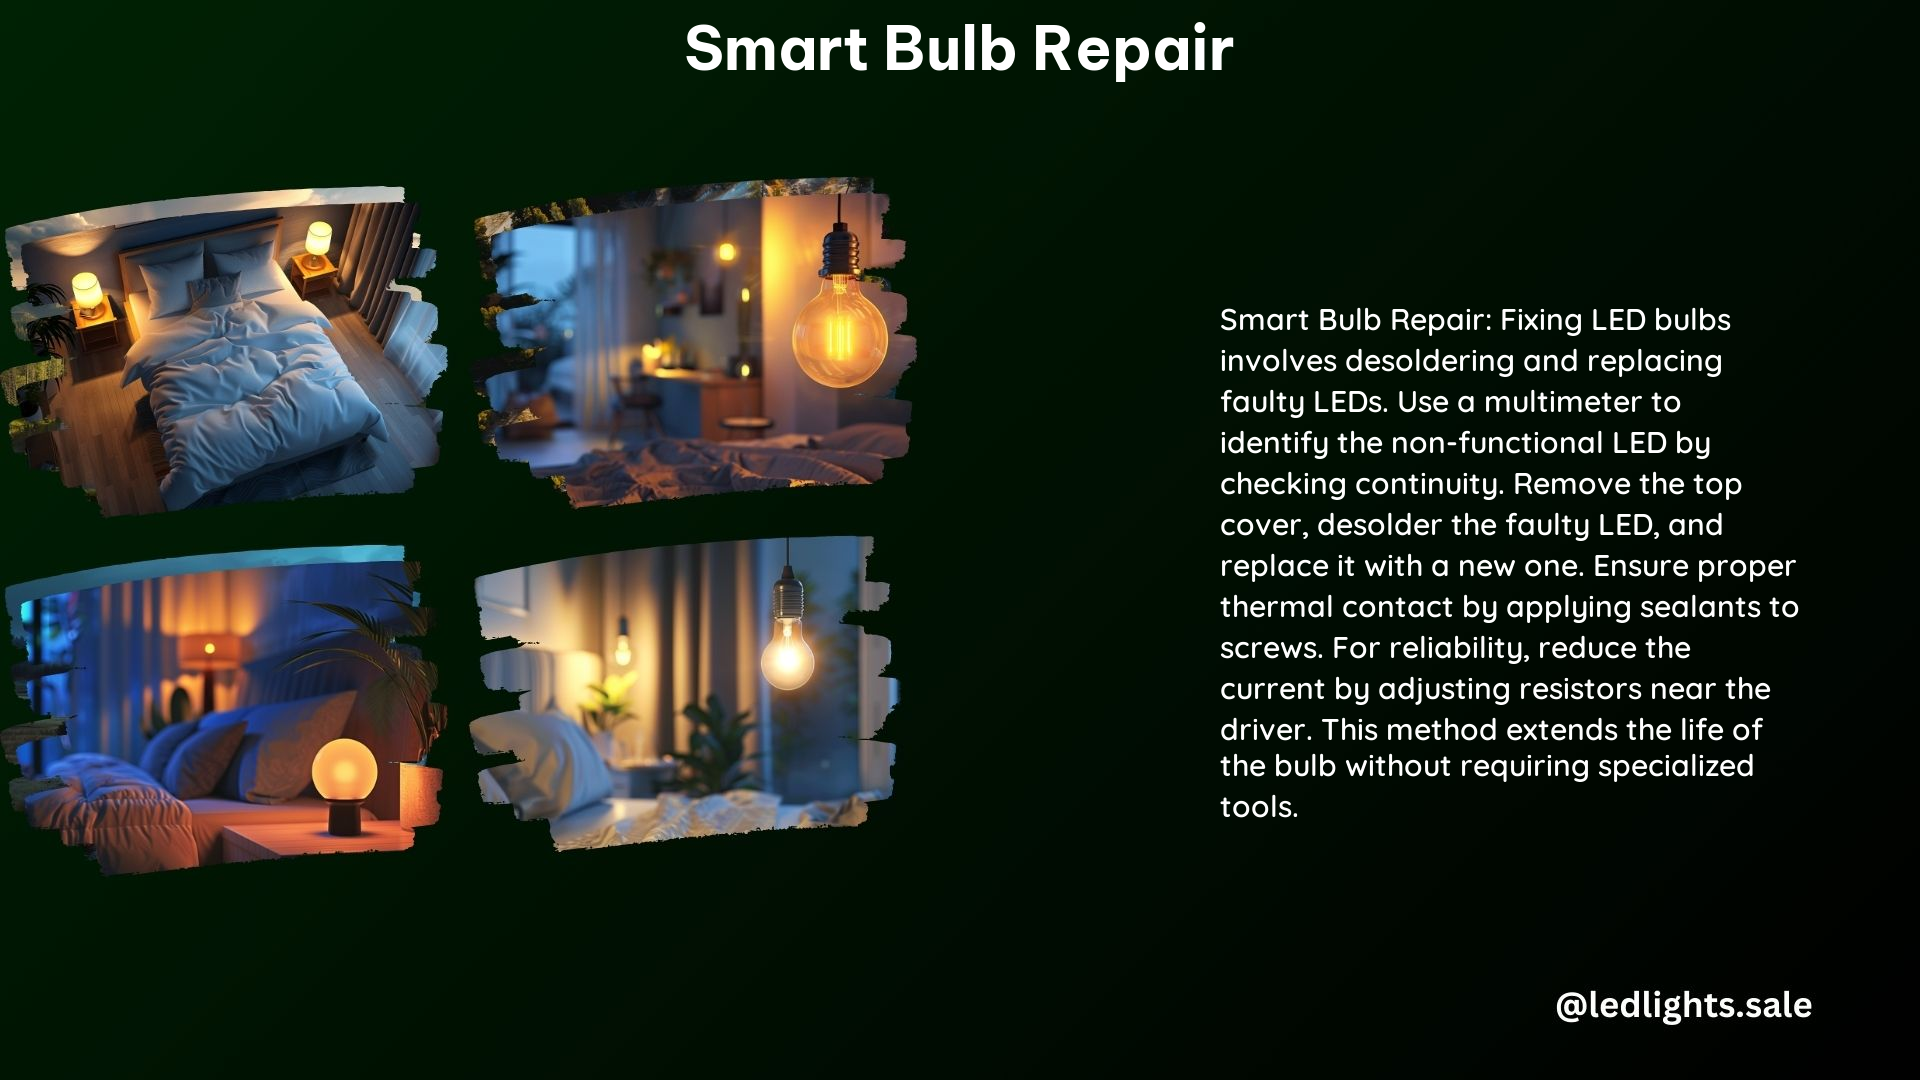
Repairing an LED Bulb
If the issue lies with the LED bulb itself, you can attempt to repair it. Here are the steps:
- Disassemble the Bulb:
- Carefully remove the diffuser or protective glass by twisting or prying it off, taking care not to damage the internal components.
-
Expose the LED array and the circuit board within the bulb.
-
Identify the Faulty LED:
- Use a multimeter to check the continuity of each individual LED in the array.
- Look for any signs of physical damage, discoloration, or burn marks on the LEDs.
-
Determine which LED(s) are malfunctioning and need to be replaced.
-
Replace the Faulty LED:
- Carefully desolder the faulty LED from the circuit board, ensuring you do not damage the surrounding components.
- Solder a replacement LED with the same voltage, current, and color specifications as the original.
-
Ensure proper soldering techniques to avoid overheating or creating new electrical issues.
-
Reassemble the Bulb:
- Reattach the diffuser or protective glass securely, ensuring a tight and secure fit.
- Test the repaired bulb to ensure it is functioning correctly and the replacement LED is working as expected.
Technical Specifications
- Voltage and Current Ratings: Ensure the replacement LED has the same voltage (typically 12V or 24V) and current (usually between 20-50mA) ratings as the original LED.
- LED Specifications: Match the new LED’s specifications, such as color temperature (in Kelvin), luminous flux (in lumens), and beam angle, to the original LED for consistent performance.
- Soldering Iron and Techniques: Use a soldering iron with a temperature range of 200°C to 350°C and follow proper soldering techniques to avoid overheating or creating new electrical issues.
Resetting a Smart Bulb
To reset a smart bulb, follow these steps:
- Turn Off the Power:
-
Switch off the power to the bulb at the socket or circuit breaker.
-
Press and Hold the Reset Button:
- Locate the reset button on the bulb or the smart home hub/controller.
-
Press and hold the button for the specified duration, typically 5-10 seconds.
-
Release the Button:
-
Release the button when the bulb or hub/controller indicates that the reset process is complete, such as a blinking light or a confirmation in the app.
-
Re-Pair the Bulb:
- Follow the manufacturer’s instructions to re-pair the bulb with the smart home hub or controller.
- This may involve using the app or a specific reset process to reconnect the bulb to the network.
By following these detailed troubleshooting steps and repair instructions, you can effectively diagnose and fix a wide range of issues with your smart bulbs, extending their lifespan and reducing electronic waste.
References
- Creative Hacker. (2023, April 4). Take an Ordinary Pencil and Repair all the Led Bulb in Your Home. YouTube. https://www.youtube.com/watch?v=4g2cggzOXeY
- Instructables. (n.d.). How to Repair Led Bulb. Retrieved from https://www.instructables.com/How-to-Repair-Led-Bulb/
- The Electrical Guy. (2023, November 2). How to Repair LED Bulb at Home for Free. YouTube. https://www.youtube.com/watch?v=jVFDcTCIetQ
- Reddit. (2020, December 13). Am I the only one who “fixes” LED bulbs? Retrieved from https://www.reddit.com/r/techsupportmacgyver/comments/kc9p9s/am_i_the_only_one_who_fixes_led_bulbs/
- Kreosan. (2022, October 9). How to DISASSEMBLE and REPAIR an LED lamp WITHOUT A SOLDERING IRON. YouTube. https://www.youtube.com/watch?v=JBKF7rKB3zc