
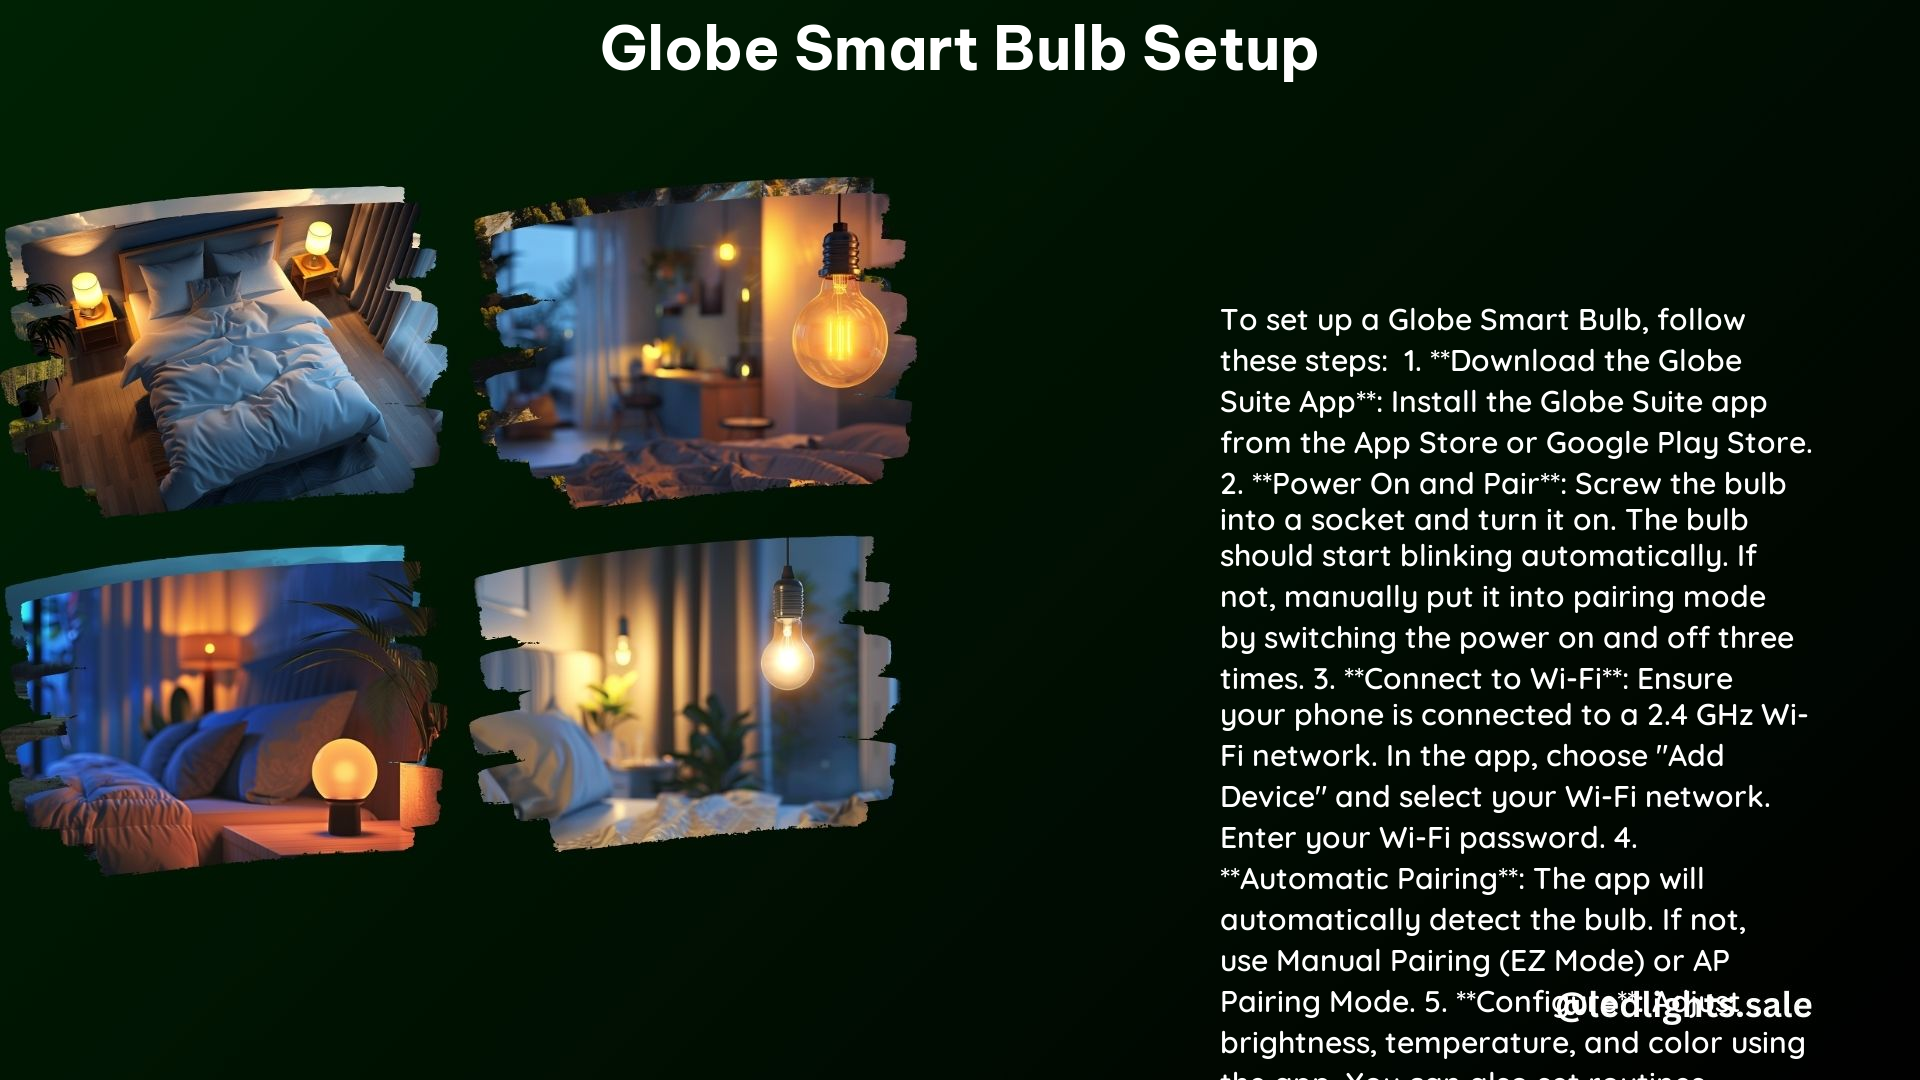
Setting up your Globe smart bulb can be a straightforward process, but it’s essential to have a thorough understanding of the technical specifications and potential troubleshooting steps to ensure a seamless integration. This comprehensive guide will walk you through the entire setup process, from downloading the necessary app to customizing the bulb’s settings, providing you with a step-by-step playbook for a successful DIY experience.
Downloading and Installing the Globe Suite App
The first step in setting up your Globe smart bulb is to download and install the Globe Suite app, which is available on both the App Store (for iOS devices) and the Google Play Store (for Android devices). Once you’ve downloaded the app, open it and follow the on-screen instructions to log in or register. This app will serve as the central hub for controlling and managing your Globe smart bulb.
Preparing the Bulb
Before you can pair your Globe smart bulb with the app, you’ll need to prepare the bulb itself. Start by screwing the bulb into a socket and turning on the switch. The bulb should automatically start blinking, indicating that it’s in pairing mode. If the bulb doesn’t start blinking automatically, you can manually put it into pairing mode by switching the power on and off three times.
Connecting to a 2.4 GHz Network
One of the key requirements for successfully connecting your Globe smart bulb is ensuring that your smartphone or tablet is connected to a 2.4 GHz Wi-Fi network. This frequency is essential for the bulb to establish a stable connection, as the 5 GHz network may not be compatible with the bulb’s communication protocol.
Pairing the Bulb
With the bulb in pairing mode and your smartphone or tablet connected to a 2.4 GHz network, it’s time to pair the bulb with the Globe Suite app. Open the app and choose the “Add Device” option or tap the plus sign in the top right corner of the screen. The default scan connection method will automatically start, so make sure Bluetooth is turned on and allow the scan to complete to discover your smart devices.
Once the scan is complete, tap “Next” when prompted and confirm your Wi-Fi name and password. The app will then attempt to connect the bulb to your network. This process may take a few moments, but once your device is listed, tap “Done” to complete the pairing process.
Controlling the Bulb
With the bulb successfully paired, you can now access its controls through the Globe Suite app. On the home screen, select the smart bulb to reveal its various settings and customization options. You can adjust the light’s temperature and brightness using the sliders and preset options, as well as switch the light from white to color and customize the preset moods or create your own.
Troubleshooting
If you encounter any issues during the setup process, there are a few troubleshooting steps you can take:
- Ensure 2.4 GHz Network Broadcast: Verify that your router is broadcasting a 2.4 GHz signal and that MAC filtering is not blocking the bulb’s connection.
- Create a Separate 2.4 GHz Guest Network: If the bulb is still not connecting, try creating a separate 2.4 GHz guest network and connecting the bulb to that.
- Check for Firmware Updates: Ensure that both the Globe Suite app and the bulb’s firmware are up to date, as updates may address any connectivity issues.
- Reset the Bulb: If all else fails, you can try resetting the bulb by turning the power on and off three times, then repeating the pairing process.
Technical Specifications
To ensure a successful setup, it’s essential to understand the technical specifications of the Globe smart bulb:
- Network Requirements: 2.4 GHz Wi-Fi network
- App Compatibility: Globe Suite app (available on App Store and Google Play Store)
- Pairing Modes: Automatic, Manual (EZ Mode), and AP Mode
- Control Options: Temperature, brightness, color, and preset moods
- Bulb Type: LED
- Wattage: 9W
- Lumens: 800 lm
- Color Temperature: 2700K – 6500K
- Voltage: 100-240V, 50/60Hz
- Lifespan: 25,000 hours
By familiarizing yourself with these technical details, you can better troubleshoot any issues that may arise during the setup process and ensure that your Globe smart bulb is configured to meet your specific needs.
Conclusion
Setting up your Globe smart bulb may seem daunting at first, but with this comprehensive guide, you’ll be able to navigate the process with confidence. From downloading the necessary app to customizing the bulb’s settings, each step is outlined in detail, providing you with a step-by-step playbook for a successful DIY experience. Remember to pay close attention to the technical specifications and troubleshooting tips to ensure a seamless integration of your Globe smart bulb into your home automation setup.